How to Build a Sauna: 9 Simple Steps to Crafting an Incredible Wellness Space at Home
If you are wondering how to build a sauna at home, I’m here to give you information based on my experience of building my own sauna. I truly believe adding a sauna is one of the best home improvement projects you can tackle. Not only can it increase the value of your home, but it more importantly can increase your health, mentally, emotionally, and physically.
I grew up in Cokato, Minnesota where cold temperatures reigned and cold lakes and saunas were numerous. As part of a large Finnish population there, it was a regular occurrence to visit a friend’s house for a sauna.
From rudimentary sauna rooms with painted plywood walls (scorched backs if you weren’t careful!) to basement family bathing rooms and state-of-the-art LED saunas with sound systems, I’ve experienced many types and styles.
I’ve come to love the small cozy rooms, the heated air, the steam, the smell of cedar, and the occasional essential oil.

Types of Saunas
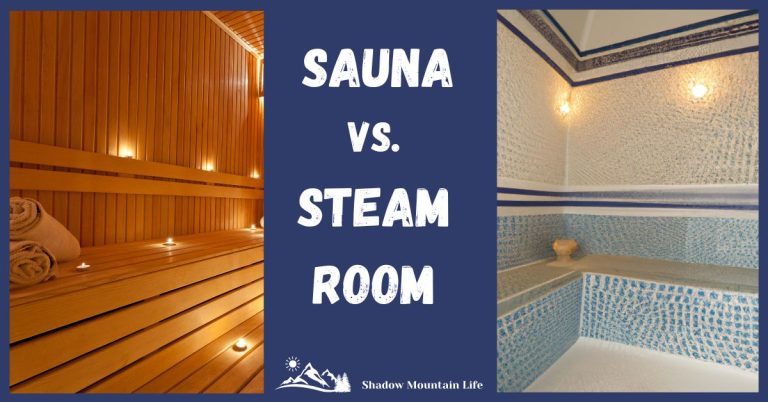
According to the North American Sauna Society, there are six different types of saunas. These include wood-fired, electrically heated, steam room, smoke sauna, infrared, and manufactured room types.
When considering a DIY sauna, a dry sauna is the way to go. You won’t need plumbing as you would with a steam room. A wood-fired sauna or a sauna with an electric stove will be the most straightforward project for the home and will give you the traditional sauna experience.
You can gather all the materials from scratch, as I did due to budget constraints, and make it a custom sauna by choosing the wood, doors, windows, stove and benches.
You can also choose to buy a high-quality sauna kit that includes the materials for you. Check out some ideas here. With a kit, you simply follow the manufacturer’s instructions on assembly and most materials will be included depending on the sauna company.
How to Build a Sauna at Home
1. Choose Your Location
When choosing your location, consider whether you want an outdoor sauna or an indoor sauna. You can convert an indoor space inside your basement or extra bathroom into a sauna room, but this will require adding extra wiring and outlets inside your home.
In my experience, it will be much easier to create a separate structure outdoors. This also keeps the heat and steam away from the interior of your home. I located my sauna directly outside the master bedroom in our backyard and had an electrician run a power source from the panel. I did this so future users can tap into the same power source for an RV hookup. My landlord did not mind that we were adding value to the home, as long as we used a licensed electrician.
If you choose a wood-burning stove for your sauna, you can place the sauna anywhere you like as there is no electric outlet needed. Of course, having lights is nice, but a simple extension cord could be all you’d need.
However, if you choose an electric sauna stove, you will need to locate the sauna close to an outdoor electric source. You will need an electrician to install the electric outlet for you at 220V for a standard electric sauna, and usually only a 110V oulet at 20Amps for an infrared sauna.
2. Consider the Size of Your Desired Sauna
You will want to think about how many people may be using the sauna space at one time. Will you be using it alone, or do you have friends or family that may be coming over? Plan for about 2 feet of bench space per adult.
The dimensions of our sauna are rather small for the crowds mine attracts. Inside dimensions are 6 feet four inches by 6 foot three inches. The ceiling height is typical, at 7 feet tall. Our sauna can fit 4-5 adults at a time. Sometimes I’ve squeezed in 7, standing room only! It is also nice to make the benches long enough to fully stretch out on if you are in there alone.
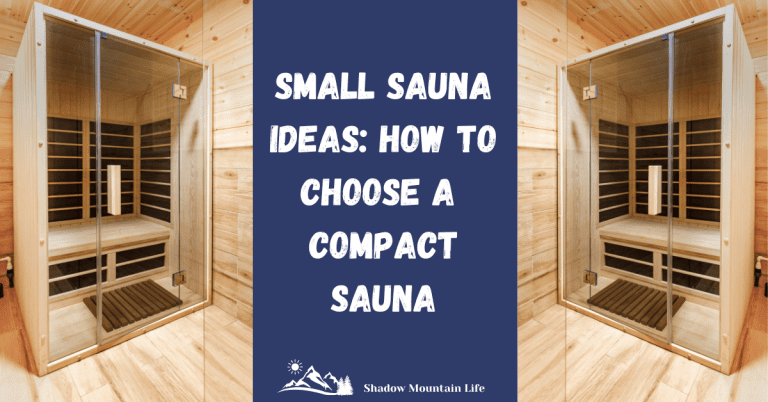
Typically, a 3′ x 4′ space is all that’s needed for a one person sauna. 2 people are comfortable at 4’x4′ and a 3 person sauna is comfortable at 4′ x 6′, and on up…
3. Choose and Order Your Building Materials
There are many ways to build a sauna and your building materials will depend on if you are going to build a custom sauna or use a kit.
If you have the money, finishing the inside of your sauna with wood species like cedar and redwood, for longevity, natural rot and mildew resistance, heat absorption, beauty, and aroma, is the way to go.
4. Lay the Foundation
You can lay concrete for your foundation and make it permanent, or build your sauna on a set of timbers as I did.
As I was preparing to build my sauna, I had a few concerns about the way I was going to build it. I wanted it sturdy, so I could move it eventually ( I was renting my home, so a permanent structure would be a waste), but I didn’t want it so heavy and burly that it couldn’t be moved easily.
A concrete slab would have been the cheapest and fastest way to go, but then I felt like I’d be donating my sauna to the landlord when we moved. So I figured out how to build a sturdy frame out of 3×6 treated timbers, and 3/4” thick treated marine grade plywood, and then frame the sauna walls on top of that frame.
Instead of a foundation, I dug out the grass below the footprint of the sauna, filled it with sand and gravel, and then strategically placed 4x8x16 concrete blocks at the corners, and centers of each treated timber, and leveled these to each other. I set my timbers on the blocks, and then dug a 24” deep hole x 12” round and filled it with rocks for a “French” drain instead of connecting permanently to the public sewer system.
I knew we’d need a drain, to release the steam water and the water used to clean out the sauna after each use.

In the photo above, you can see that I used the birch plywood for the walls as an economical material. I had also only planned on having 2-3 people in there once a week. The plywood is delaminating after three years and lots and lots of water used in cleaning. I’m not too worried about it, as it’ll be easy to repair, but it was surprising how popular the sauna has become with my friends!
5. Choose Your Sauna Heat Source
You will need to choose either a wood-fired stove or an electric stove for your sauna heater. If you choose a wood-fired stove, you will also need to install a chimney. You can check out types and prices of sauna stoves from well-known companies like Harvia, Finnleo, etc.
Cokato, Minnesota, where I grew up, is the headquarters of Finnleo Sauna- a home sauna company that has been at the forefront of sauna design. Due to some personal connections there, I was able to order my stove at a discount.
The stove I chose was a simple electric heater, run on 240 Volts at 50amps. It’s called the Designer SL2, with the sauna Logic 2 control. I was able to score this alone for under $1K.
6. Consider Windows and Door Type
I built my own door out of vertical grain Douglas fir, finding the tightest and closest grain possible. I knew that fat open grain would expand and contract more, so as an inexperienced door builder, I went to it.
After squaring up the door frame, I planned the door for a full 2×6 stile on the left and right, and a 2×8 rail on top and bottom. I rabbeted out a groove for a piece of shower glass to fit snugly in the hole and used silicone to stop it in. The sauna door fit tight, the silicone held well and looked clean.
Finding hinges and handles that don’t rust is a challenge. My wife almost got stuck in the sauna as the first handle seized up while she was in it. I was concerned because it had started sticking and getting worse, and I ended up having to use a painter’s tool to break into my own sauna and free her.
Now I spend better money on hinges and handles, and they’re lasting a lot longer. Maybe the fan is what’s changing the game. Before the fan, I would just let the room passively dry. Well, silly, heat and water and sweat create something gross. After cleaning and cringing a few times, I installed a small fan under a bench and set it to a push button timer after each use, whether we use water or not. It has helped incredibly.
I placed 2 windows on either side of the door, with the same frosted shower glass I used on the door. They are tempered at 1/4 inch thick, and they’re bomb-proof. I wanted some sort of privacy, as we do live in a neighborhood, but also something that lets light in and out for ambiance, cleanliness, and aesthetic appeal. I’ve been happy with the result so far.

7. Frame the Exterior
Frame the walls and roof adding insulation and electrical wiring.
I framed my outside walls with 2×4 studs, and the ceiling with 2×6’s, vented each rafter space, and wired up the sauna for lights, outlets, and stove.
I insulated the walls with R-15 batt insulation, but you can use R-11 or R-13 insulation, and the ceiling with R-21 insulation batts. R-19 is pretty standard at any home improvement store and works just fine. Then I covered it all with 1/2” RMax foil-faced insulation, all from Home Depot.
8. Finish the Interior
The type of wood you choose to use in the interior walls of the building are very important. Costs may vary depending on what wood you go with. And your budget can help or hinder your creativity.
My dream sauna interior is clear perfect white ash or hemlock, maybe even clear cedar, no knots, similar graining and coloring, all vertical tongue and groove on the walls and ceiling. But the product alone for my small sauna room would have been $4-5,000. So I opted for the $300 option, in 1/2” birch plywood from Home Depot.
The drawback to this is that even though it’s a large flat wood surface that looks pretty nice, birch is called a hygro-phobic wood, meaning it attracts water. It sucks it up. So after three years of use, the bottom 1 inch of the plywood is starting to rot out and will have to be replaced.
Compared with the birch, using a full wood product like cedar or redwood has many benefits including smell, beauty, color, and longevity. The greatest benefit is its rot resistance. and these woods are famous for having high tannin content in the wood fibers, which is a rot-resistant chemical. Some woods have more, some almost none. Another of the benefits of cedar or redwood is the porosity of the natural wood, which absorbs heat and moisture and dispels it quicker than hardwoods.
Using hard dense wood in a sauna can burn you, as it reflects and retains the heat, whereas cedar, a softwood, can absorb and dispel the heat quickly.
The sauna benches, being cedar, have performed marvelously. They were expensive to purchase the raw materials, but it was the one thing I knew I could not compromise on. Finnleo can provide a complete list of products with cut lists and itemized pieces if you need them. Their design team provides piecemeal bits, up to fully customized and precise kits. If you are trying to make a sauna fit in your basement, closet, garage or anywhere, having detailed dimensions of the space will help in the design and shape of your home sauna.
But I digress. Inside the sauna, you will ideally have at least two benches, one high and one low. Make sure an adult of average height can sit on the top bench with enough room to sit up straight. The lower bench will be a place to rest your feet, or a slightly cooler area to sit during a particularly hot sauna session.
For the floor, I like hard tile or concrete for ease of cleaning but thought it would crack up too quickly if I had to move the sauna, using a forklift or other means. So I used pitched flat-roof panels to slope to the center drain, which are very flexible, covered it all with a shower pan EPDM membrane, and sealed the seams and screws.
Then I laid on bevel-cut treated 4x4s to bring the floor level. From there I had a flat floor which I could put three separate duck boards on top of for a clean and flat walking surface, and was also removable for cleaning beneath.

Not too surprisingly, I found a fair amount of mold and biofilm accumulating below the benches, until I installed the fan under the benches on a four-hour timer. I installed the fan a year and a half in, and even though I had adequate ventilation in the room, I learned that passive ventilation was not enough, and adding the fan made it so much more enjoyable.
Now my deep cleaning routine is twice a year instead of once a month. I use 30x Vinegar to soak everything, lightly rub it down and rinse, and lastly I use a bio-film concentrate in a spray bottle that breaks up the bio-scum. This product is typically used to run through hot-tub piping, but works the same on the surfaces in my sauna. I let it sit for only 5 minutes and then a light scrub and a final rinse.
9. Add Sauna Accessories
Once the space is finished inside, install the sauna heater, assemble a chimney if it’s a wood-burning type, and add backrests to the upper benches. Cedar is a must here. Try to spend a little extra on the cedar and ask for tight knot or clear cedar if you can. The knots themselves in the cheaper wood are very dense and hold the heat, potentially giving you a little burn.
You will also need sauna rocks in the stove, a bucket, and a ladle to throw water with.
For a full list of sauna accessories, check out our post linked here.
If you like, add a cold plunge tub or outdoor shower to cool off outside the sauna. A simple garden hose will also work just as well!
I have an hourglass timer in 5-minute increments hung inside the sauna to keep track of how long each session goes-especially as I like to cycle between the heat and the cold plunge tub.
Add some towels, a sauna hat if you like ( an essential item if you’re doing really hot sessions) and some good-smelling essential oils to add to your bucket of water, and you are all set. We like pine, eucalyptus, and lavender essential oils the best. In cold and flu season, 2 drops of thieves is nice. Careful, though, too much will be overpowering. I tried…

How to Use the Sauna
Your sauna is now complete and you can enjoy it from the comfort of your home. To get the best health benefits, try to use it at least 2-3x per week.
You will want to turn on the sauna 45 minutes to an hour ahead of the time you want to use it. Ideally, the temperature will be between 160-190. Remember to hydrate before, during, and after you use your sauna as you will be losing a lot of water and electrolytes.
Remember to ventilate your sauna afterwards. I have a small fan installed to run on a timer. After we sauna, the benches are scrubbed with water and left to dry in the high heat with the fan running. This helps prevent mold from growing.
Check out some more sauna tips from our full post here.
Building a home sauna from scratch is definitely possible. If you have some construction skills or know someone who can help, building from scratch can be cheaper and more custom.
For a beginner builder, a sauna kit will teach you how to build and assemble the sauna. A kit may be more expensive depending on the options included.
FAQs
1. Is it Cheaper to Build My Own Sauna?
The quick answer is yes, but it depends. It depends on your building skill level and the materials you choose to use. If you do all the labor yourself, use wood like birch on the interior and only use expensive wood like cedar for the benches and choose a very simple stove set-up it can be cheaper.
2. Do Saunas Use a Lot of Electricity?
Not really. According to the Harvia sauna heater website, a regular family sauna (3-4 people) with a 6-8 kW heater uses about 4-5 kWh during the hour warm-up period and 3-4 kWh in the hour after that.
A typical sauna session is about 2 hours in total, so about 7-9 kWh would be used during that time. Larger saunas with larger heaters will use more electricity.
3. Does a Sauna Increase My Property Value?
A well-maintained sauna will increase the property value of your home as the sauna has become more mainstream and desirable. An increase in health awareness, lifestyle choices, and home health remedies has grown throughout society. Why not do it yourself and reap the rewards?


